


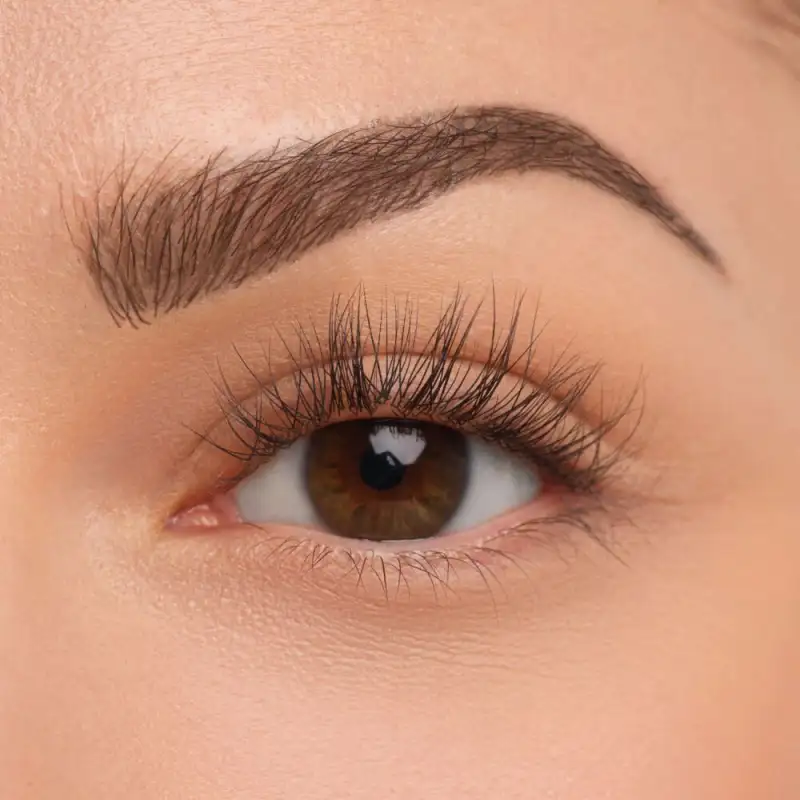
If you naturally have very few eyebrow hairs, you can even trace complete brows with the 24h Micro Brow Liquid Liner - precisely, line by line. The ultra-fine tip makes it possible to create hair-like lines that look deceptively real and perfectly imitate natural brow growth. This gives you the same lifting effect and the result lasts up to 24 hours and is smudge-proof.


MAKEUP TIP
Eyebrow lamination
How do you achieve laminated eyebrows without a professional eyebrow lift in the studio?
The popular brow lamination look can also be easily recreated at home. In this make-up tip, we'll show you how to conjure up the look of laminated eyebrows in no time at all using two products.


INSTRUCTIONS FOR YOUR BROW LIFT AT HOME

Step 1
Lift and shape your eyebrows
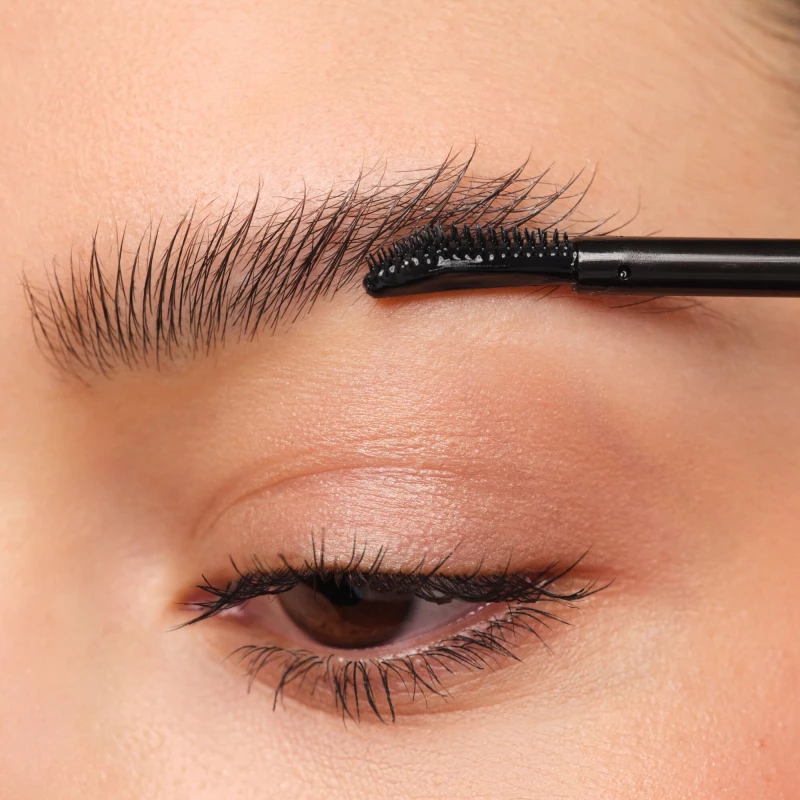
Use the comb of the Brow Lift Lamination to comb your eyebrows upwards and lift them. Comb the hairs upwards with light pressure in the direction of growth.
This creates the typical lifted lamination effect.

Step 2
Press on eyebrows for a long hold
Turn the applicator of the Brow Lift Lamination and now use the flat side of the brush.
Use the applicator to press the hairs against your skin with twisting movements in the direction of growth. This sets them perfectly and keeps them in the desired shape all day long.

Step 3
Filling gaps in the eyebrows
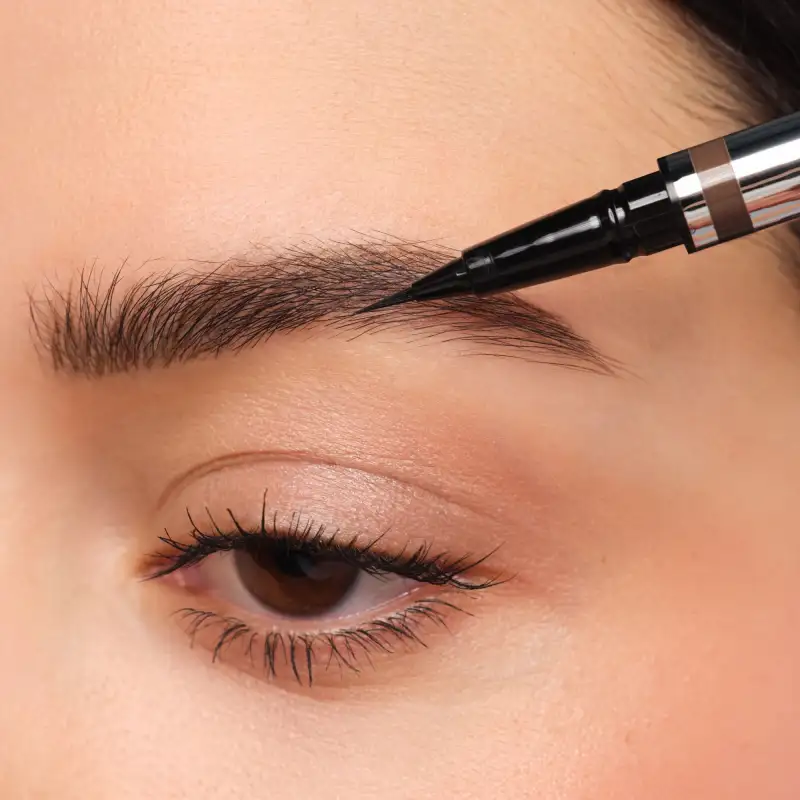
If you notice any gaps or bald patches when combing your hair up, you can now fill them in with the 24h Micro Brow Liquid Liner.
Use the ultra-fine tip to draw precise lines in the direction of hair growth. The drawn hairs create a natural look and make your eyebrows appear thicker and more defined.
Tutorial

Currency